Contact: support@ttlmakerspace.com
We are gearing up to host Toronto Games Week, featuring our theme Games Made Open. It’s going to be a full week of fun featuring the awesome talents of a wide variety of Toronto creators, and we’ll be hosting on June 16.
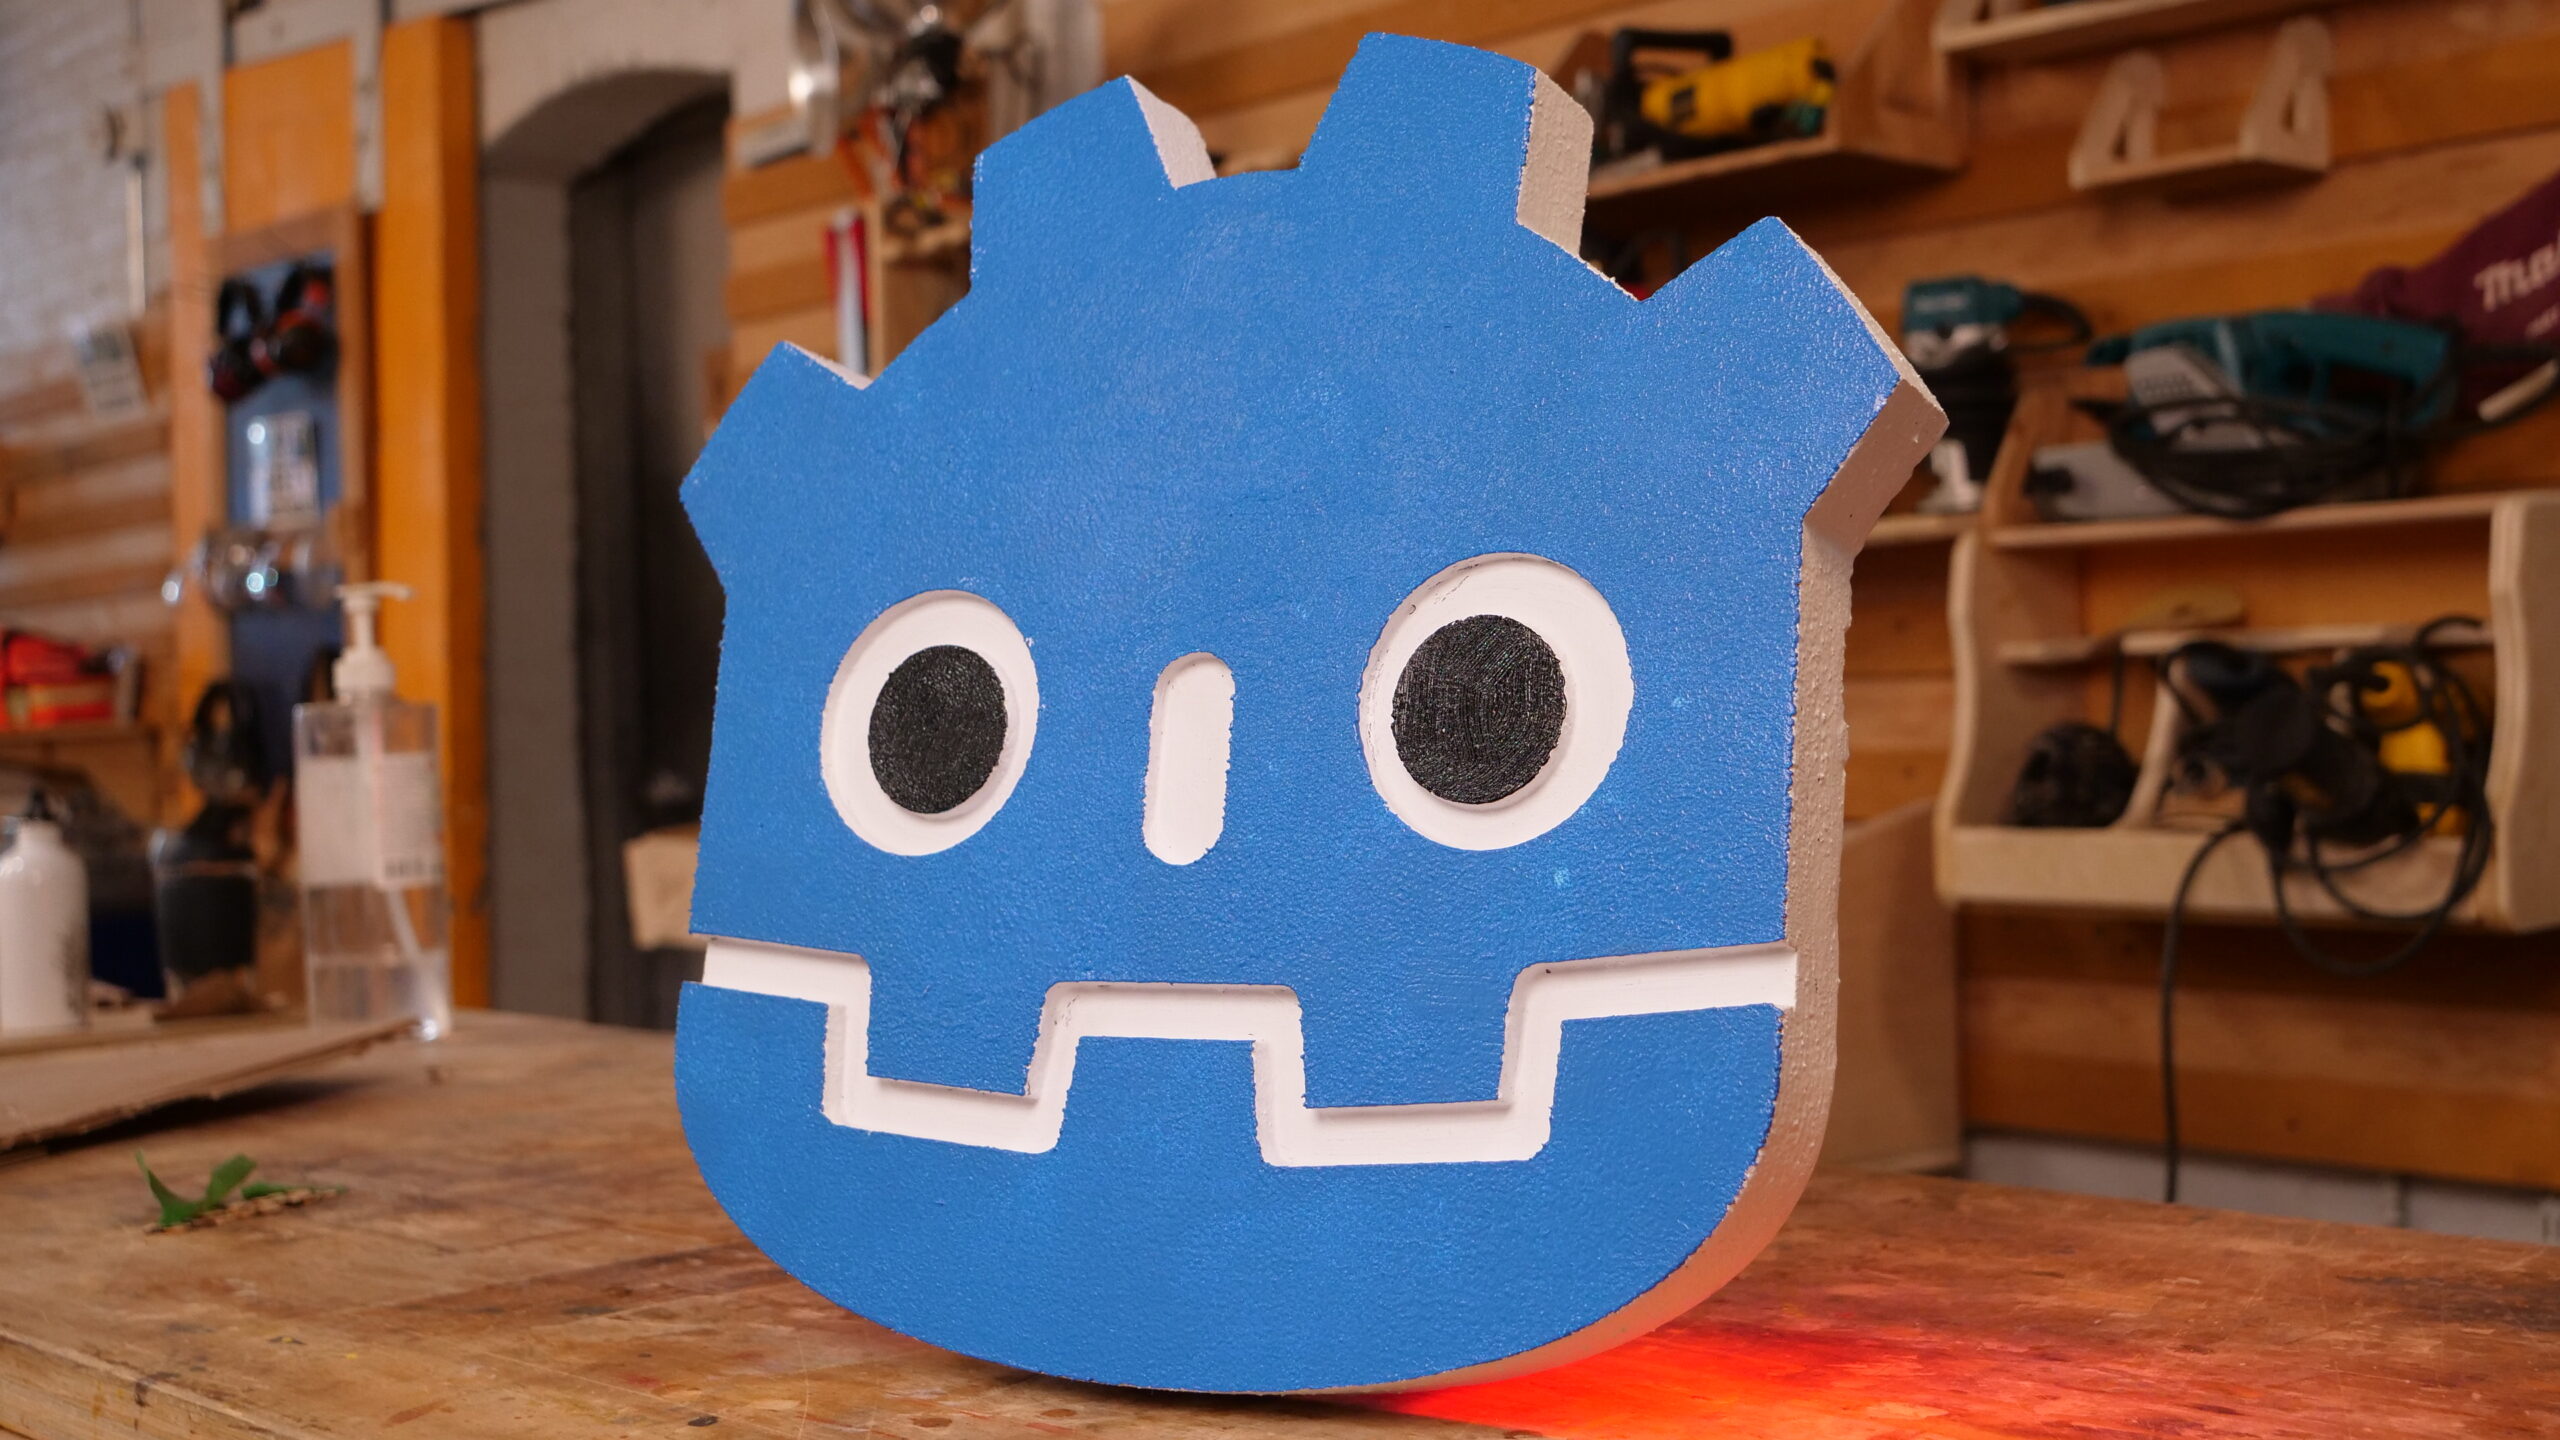
To make things a bit more special, we’ve been building fun oversized signs! These are constructed from very lightweight XPS foam using a mix of techniques we teach in our Design for Lasers and the CNC In-Depth courses.
First we find the graphics we want to use and plan out how we want the final sign to look. Some areas will be raised, others will be recessed – all of this needs to be organised in advance.
The design is typically converted into vectors either by software or drawn out by hand. To minimise problems in the production process the vectors will be optimised before bringing them into CAD.
Vector Creation
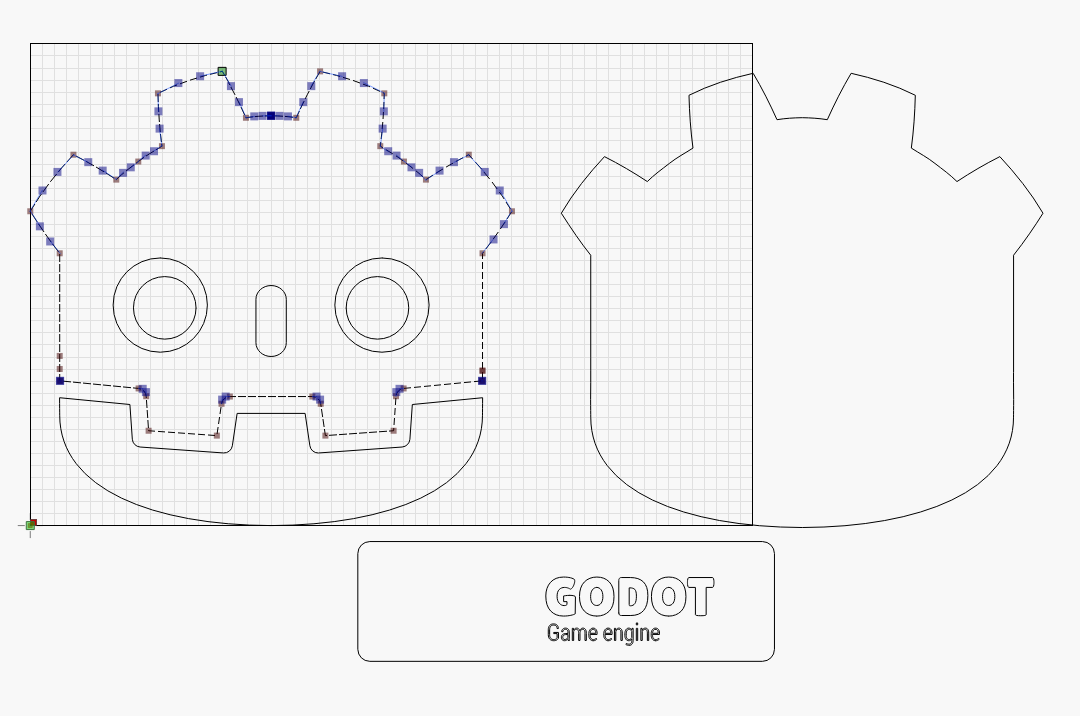
Most artwork will need optimisation to produce a good result – like this logo for the Godot Game Engine. Unnecessary points get removed, breaks in paths are corrected, all before going into 3D modelling.
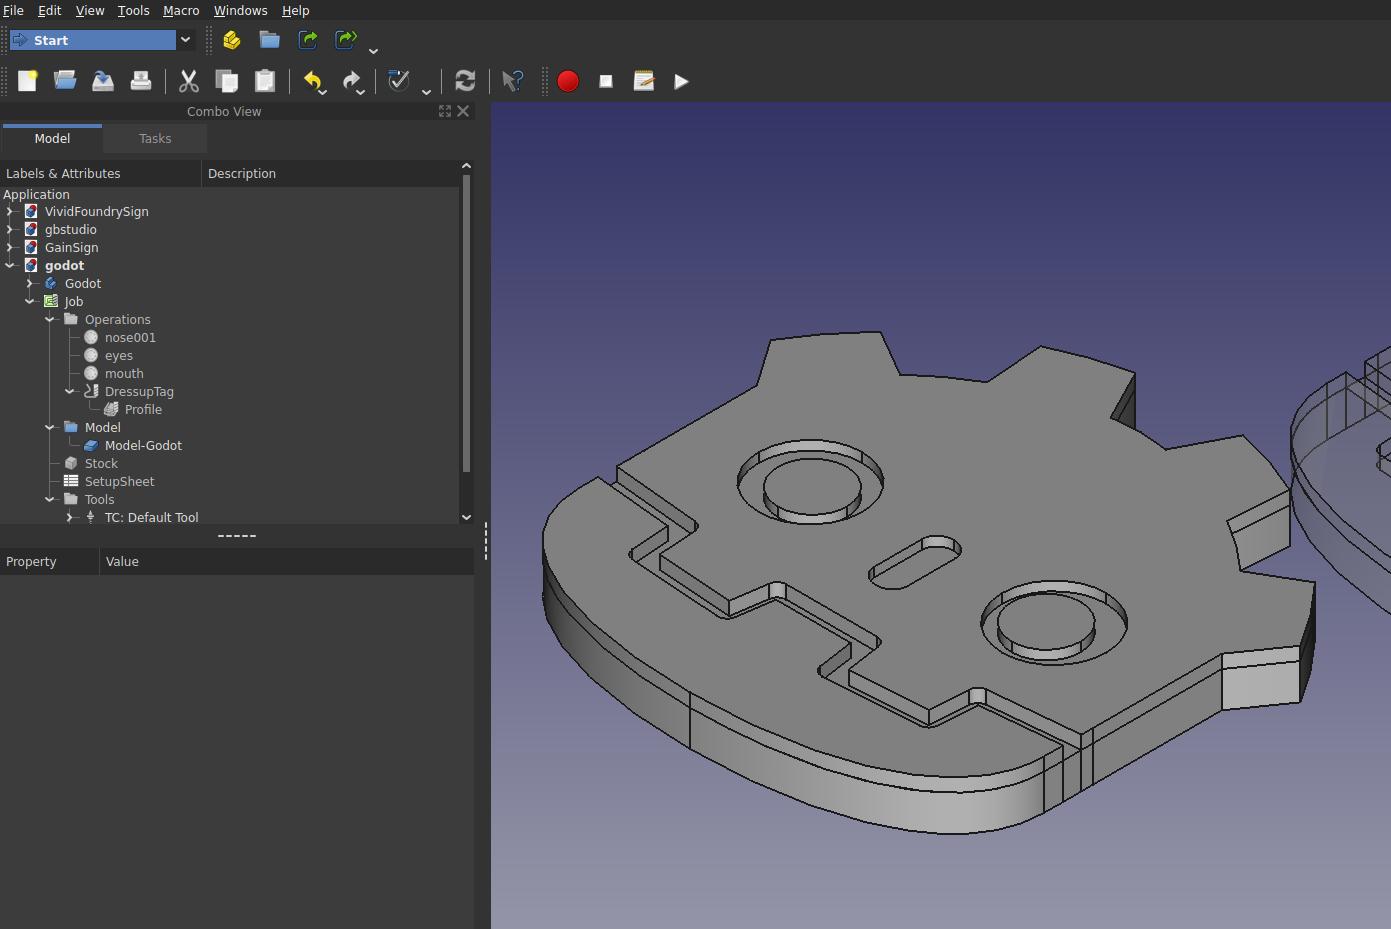
We use FreeCAD, a powerful open-source software. It allows us to bring in the vectors we have created and convert them into geometry. Piece by piece we build up the model until it has all the features we need for the final production.
Modelling
With vectors created, we bring them into CAD software for modelling. Starting with a base shape we lay in pockets for features, and raise extrusions to create shapes. This is where we see the benefit of optimising the vectors, as extra points create unnecessary geometry.
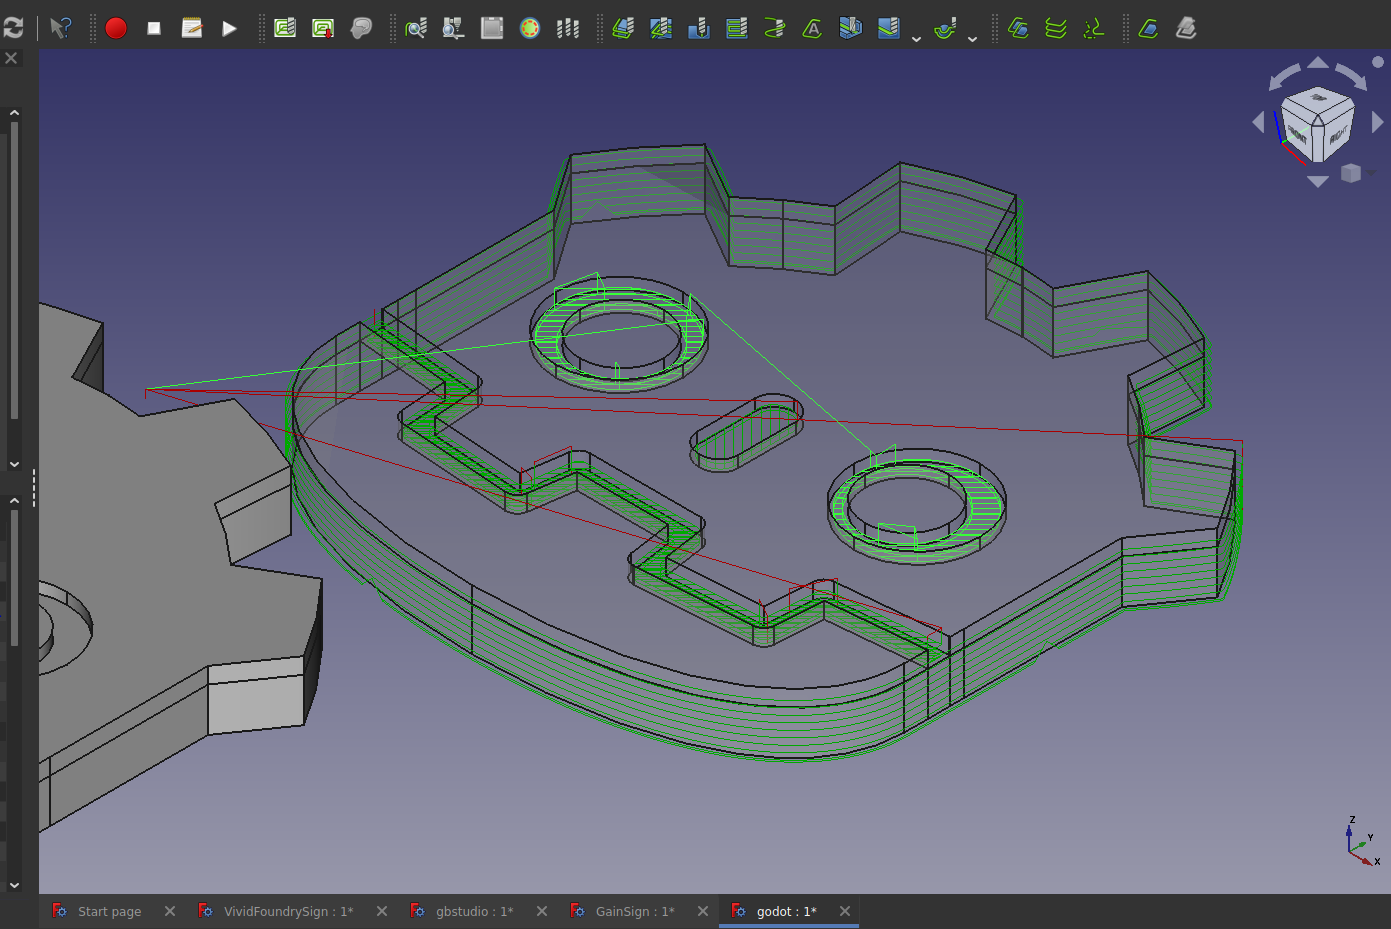
The next step is planning out the machine pathing, taking into account such factors as the properties of the material, the bits we want to use. We try to optimise all the settings to get clean edges while reducing the production time as much as possible.
CAM Pathing
The green lines represent machine paths. A lot of thought goes into the ordering of CAM operations, as well as bit selection, speeds, and feed-rate.
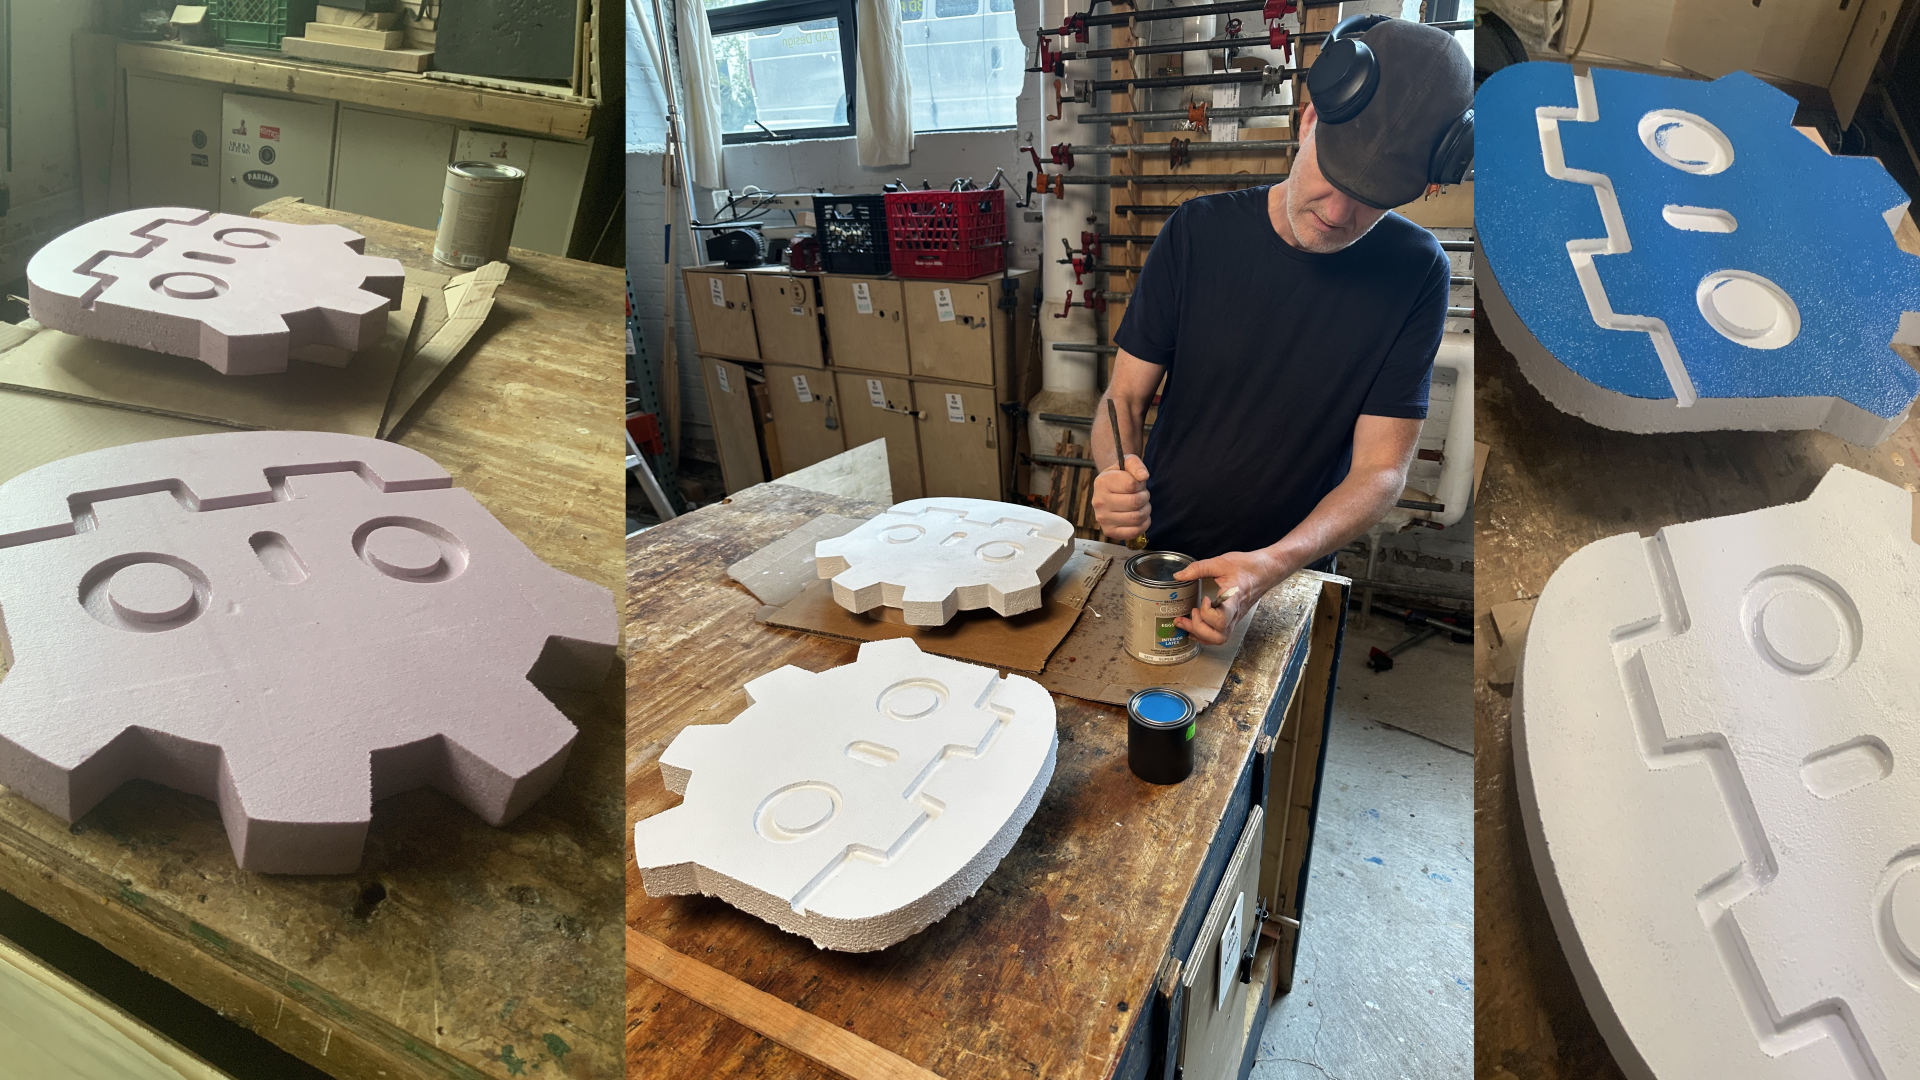
Following cutting, there may be a bit of post-production work to do. An important part of this is the application of a sealant. In the case of XPS foam, we use ModgePodge, applying it in thin, even coats with brush and roller. It goes on white, looking very much like glue, but it will dry to a clear finish.
Once the foam is sealed, it can be painted with regular old acrylic latex paint. In some cases we might have some further steps, such as laser-cutting graphics that can be applied to the surface (again, just using ModgePodge).
These big foam signs look great and are so lightweight that they can be easily mounted with just double-sided tape. They are easy to transport as well, though some care must be taken not to damage them. They can also be animated quite easily using simple servo motors, and their foam bodies are easy to carve for inserting electronics or batteries.
