

Contact: support@ttlmakerspace.com

Description:
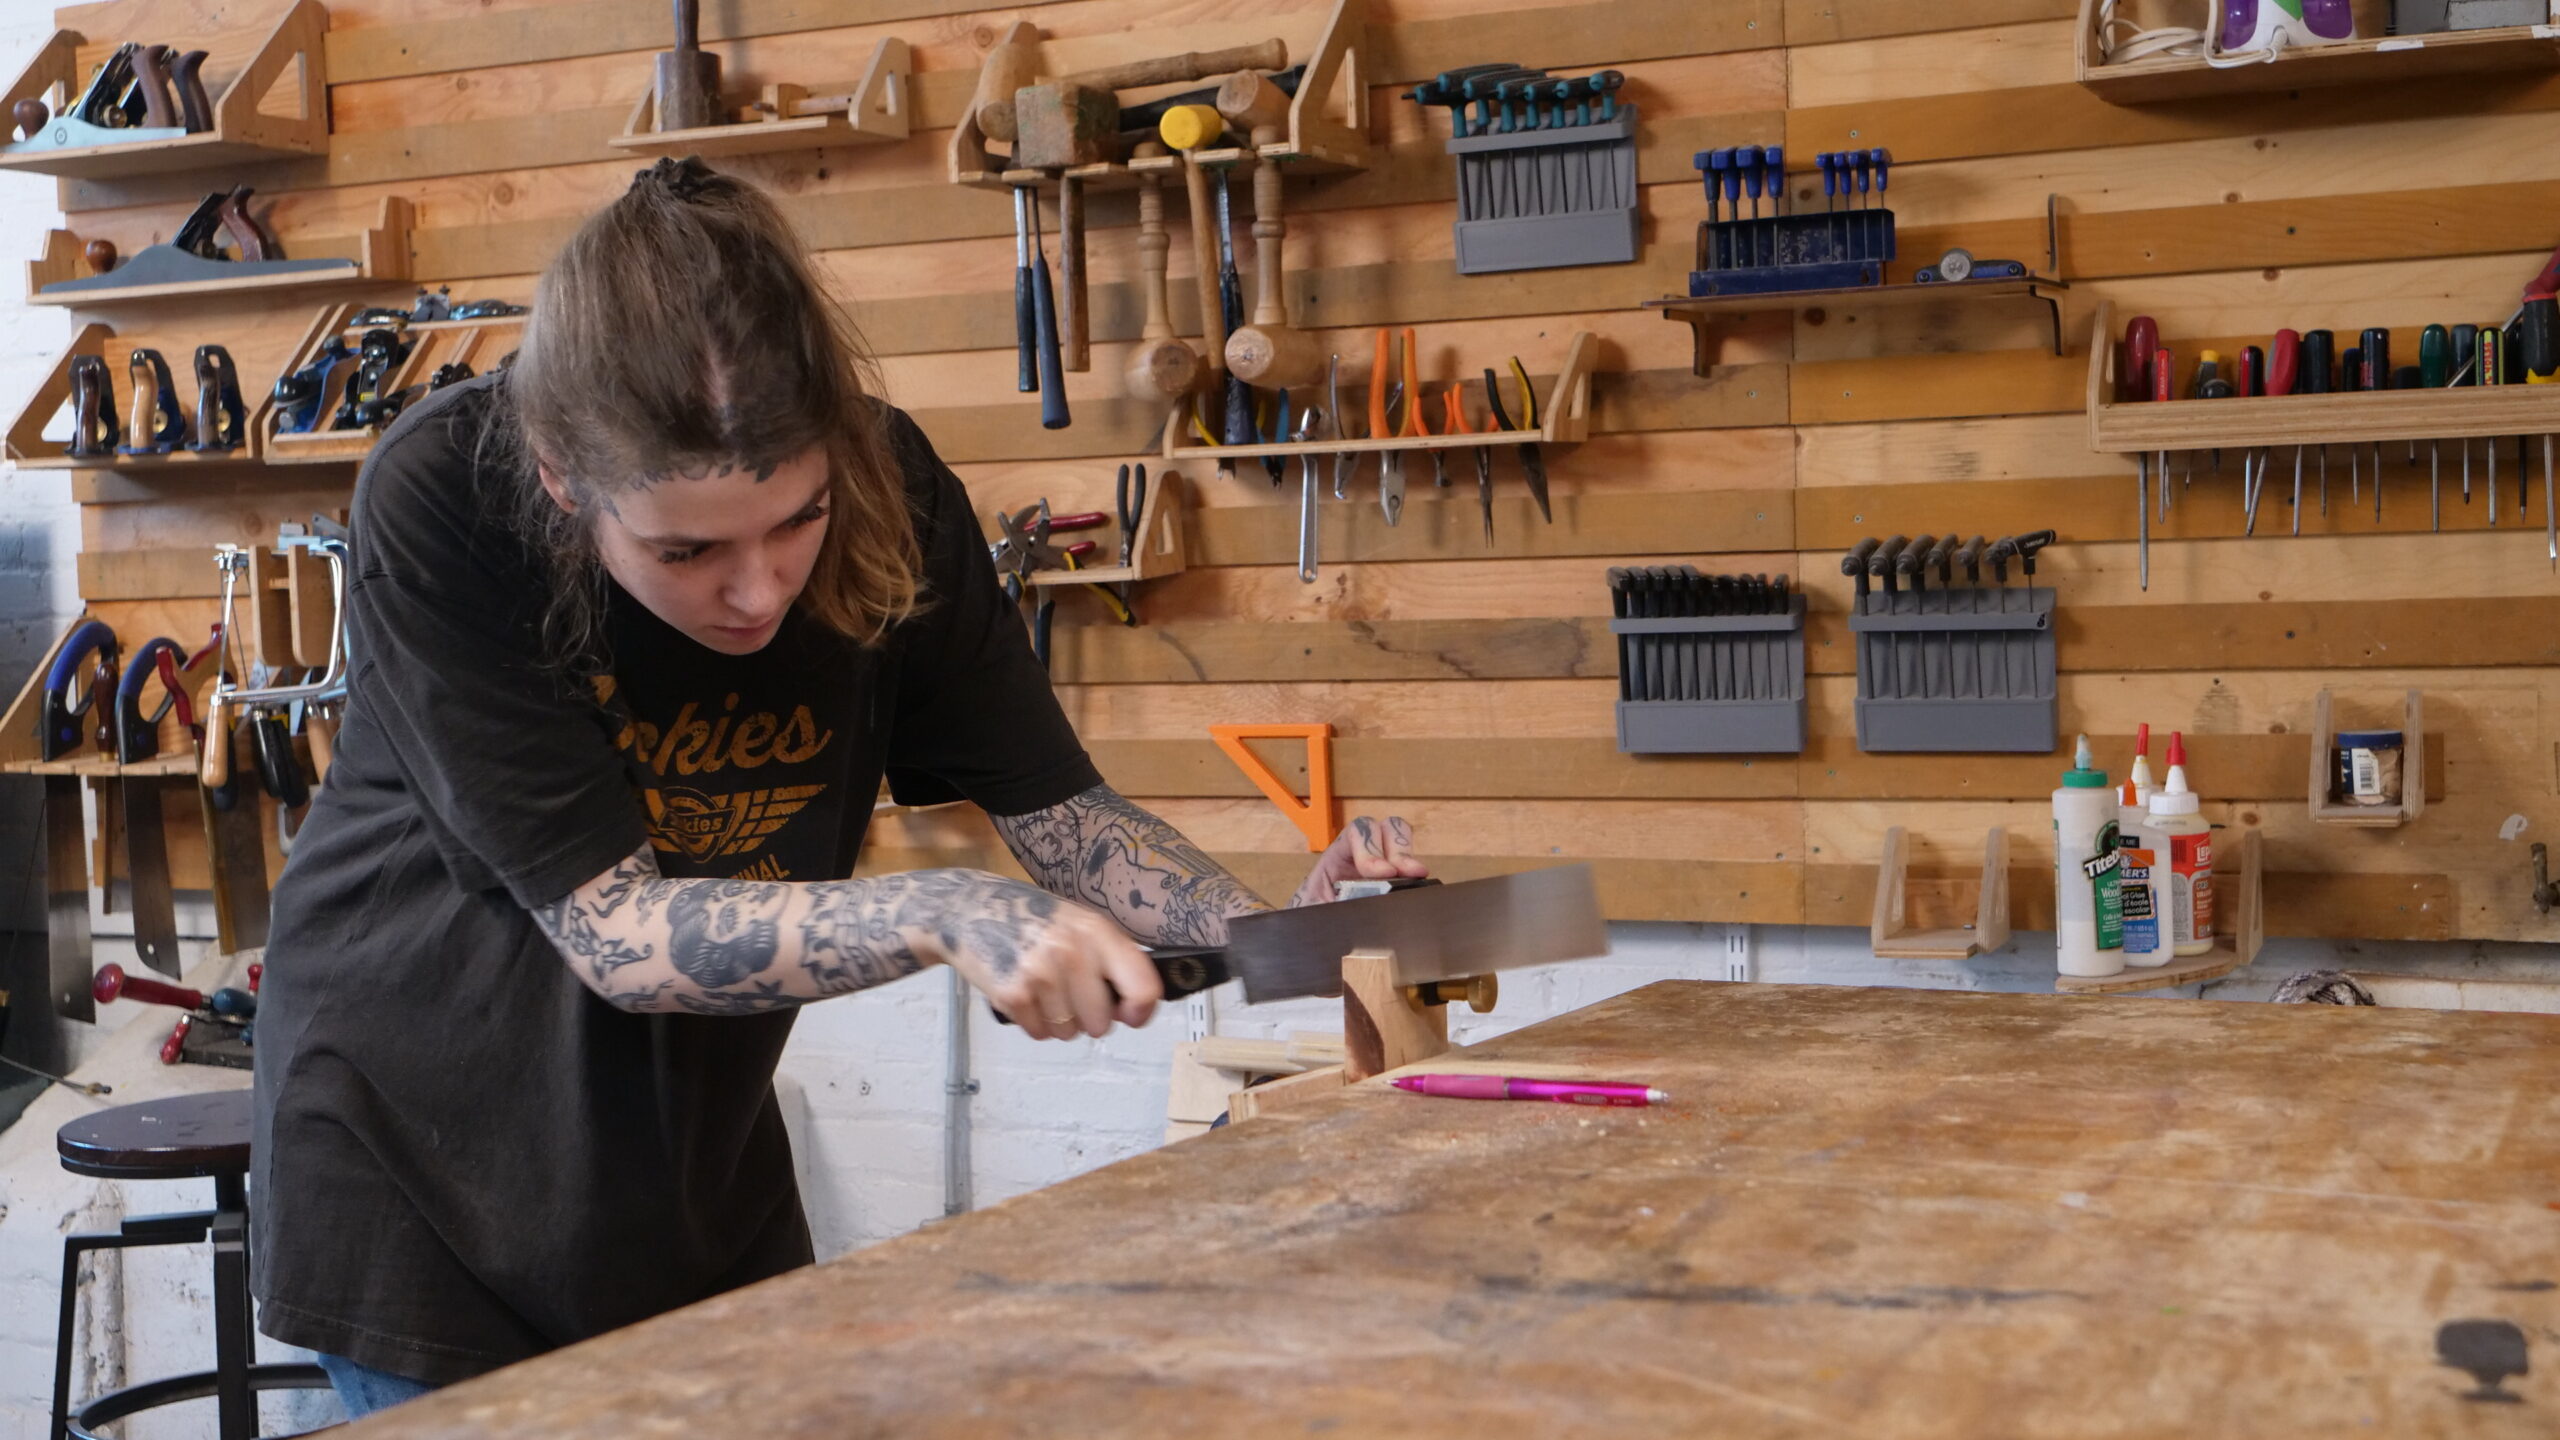
In this followup to Woodworking Intro students advance their skills into more sophisticated use of both power tools and hand tools. During the course two projects are created that reveal techniques for creating mitred joints, splines, inlays, lap joints, and finishing techniques.
Week 1 – Mitre Box pt. 1
Learn about:
- Box design, various styles
- Selecting good materials
- Review of power tools – (Woodworking Intro required)
- Intermediate level cutting techniques
Concepts covered:
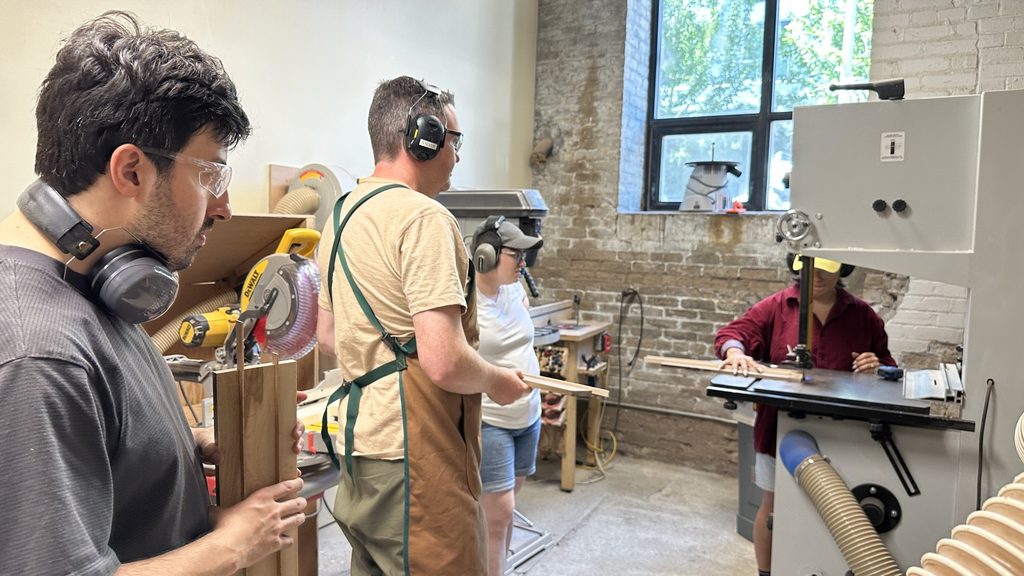
Students go through planning and visualizing an effective workflow for the project. Using a classic box build as an example, students learn to plan and cut materials for use in the project.
Exercise 1: Planning and layout
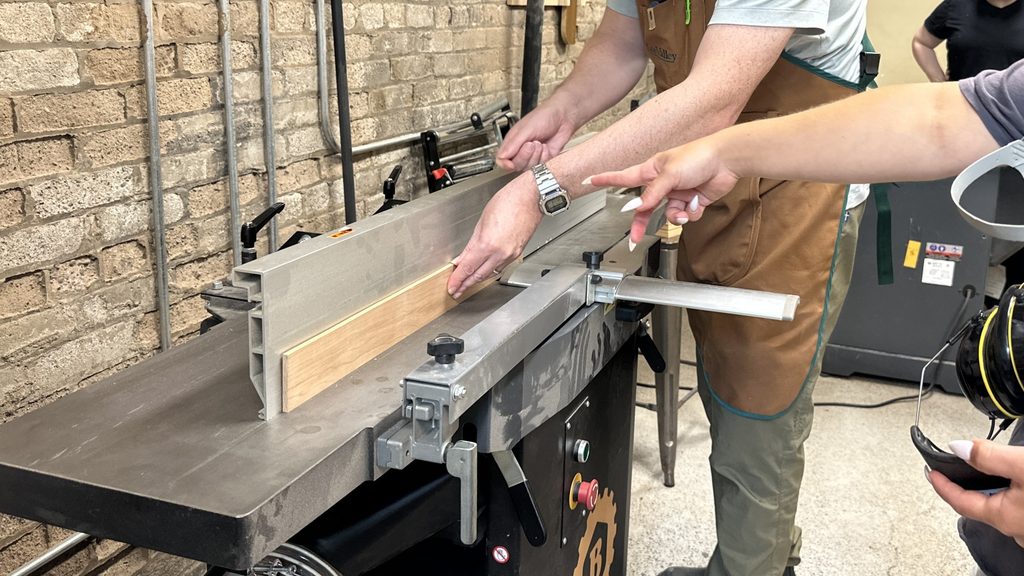
Exercise 2: Cut and dress materials for box components
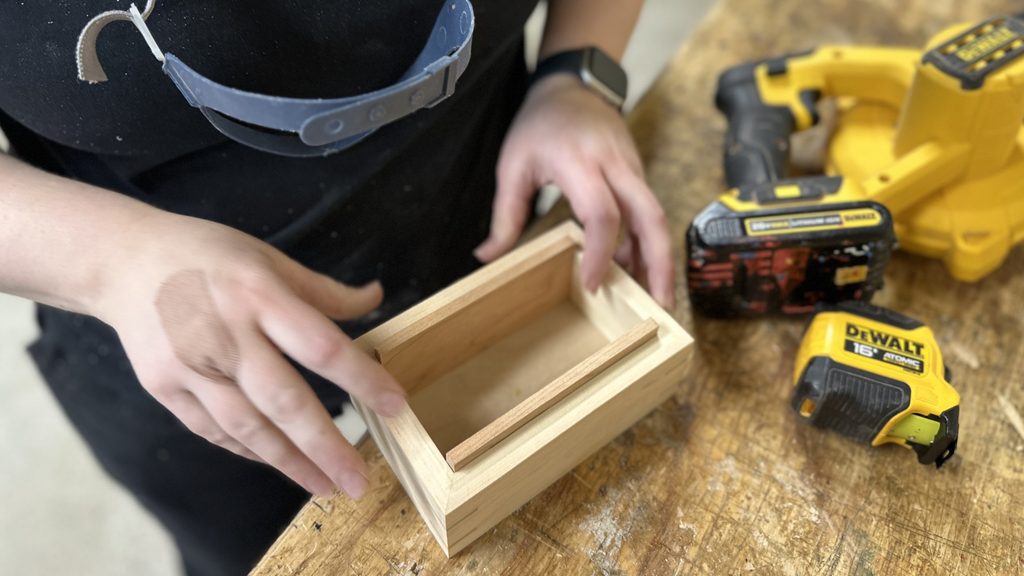
Exercise 3: Assemble and glue up box
Project: Mitre Box Pt 1.
- Joiner/planer
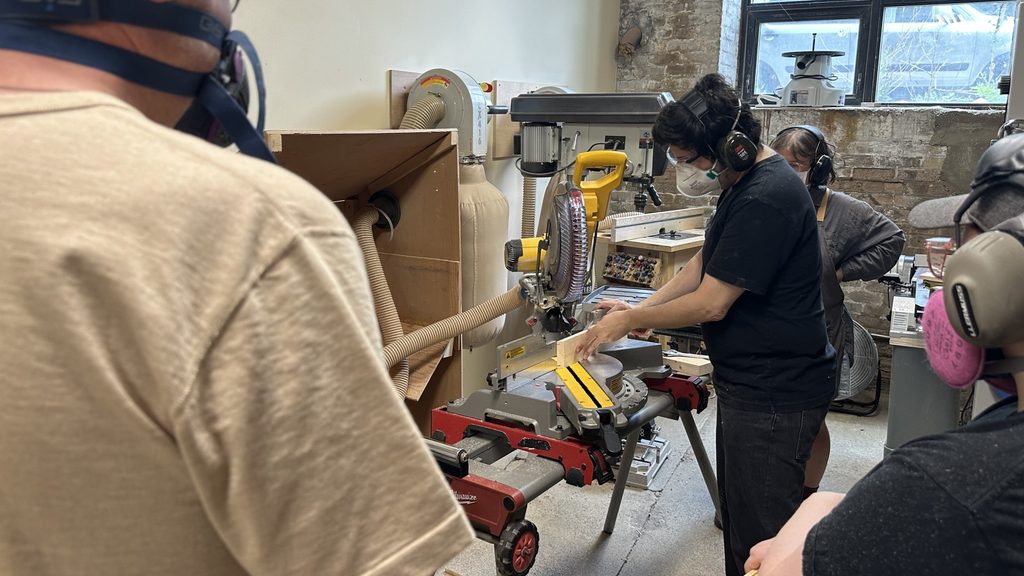
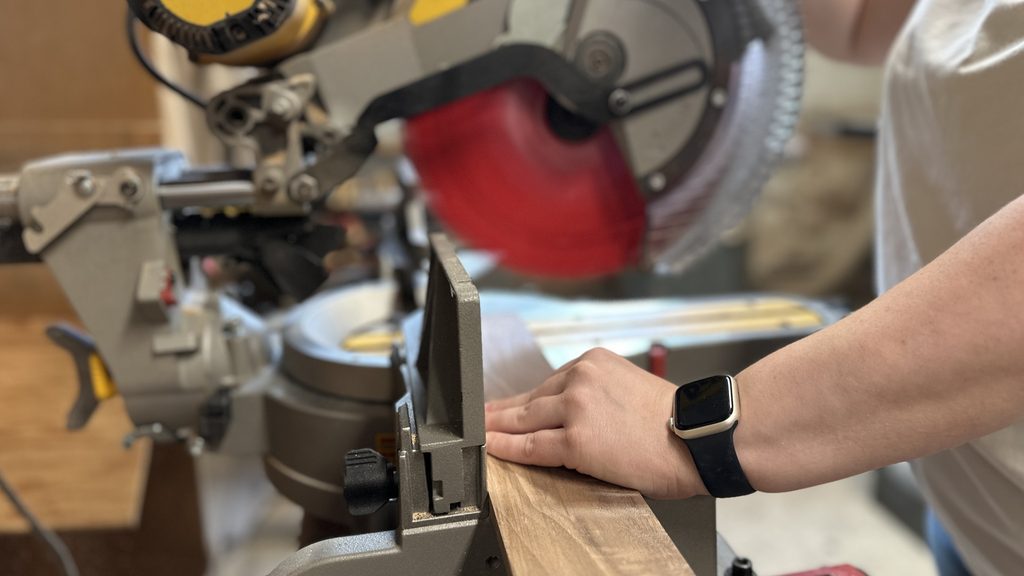
- Mitre saw
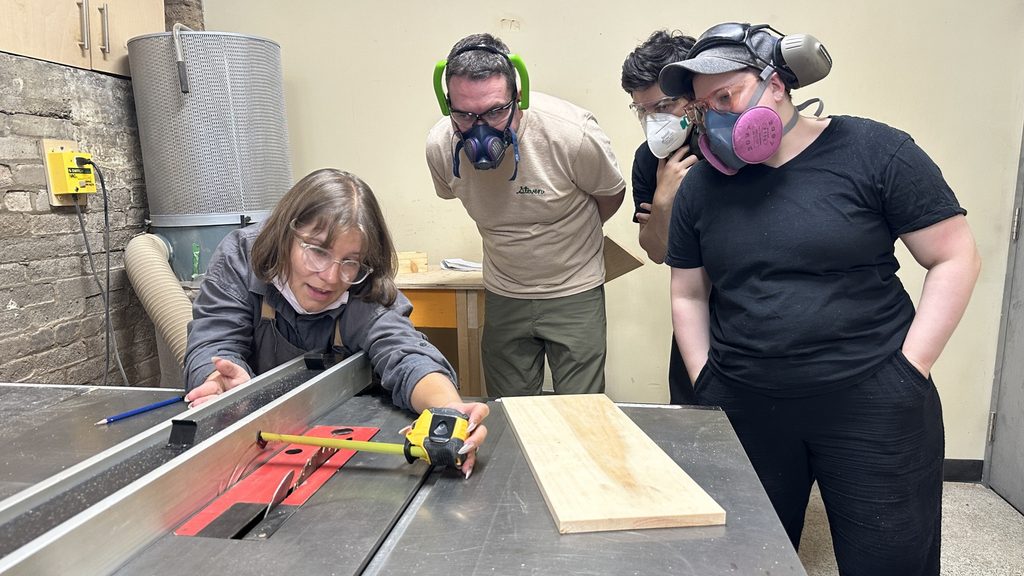
- Tablesaw
- Techniques for assembly
Week 2 – Mitre box pt. 2
Learn about:
- Intermediate joinery with splines
- Material preparation
- Box lid preparation
Concepts covered:
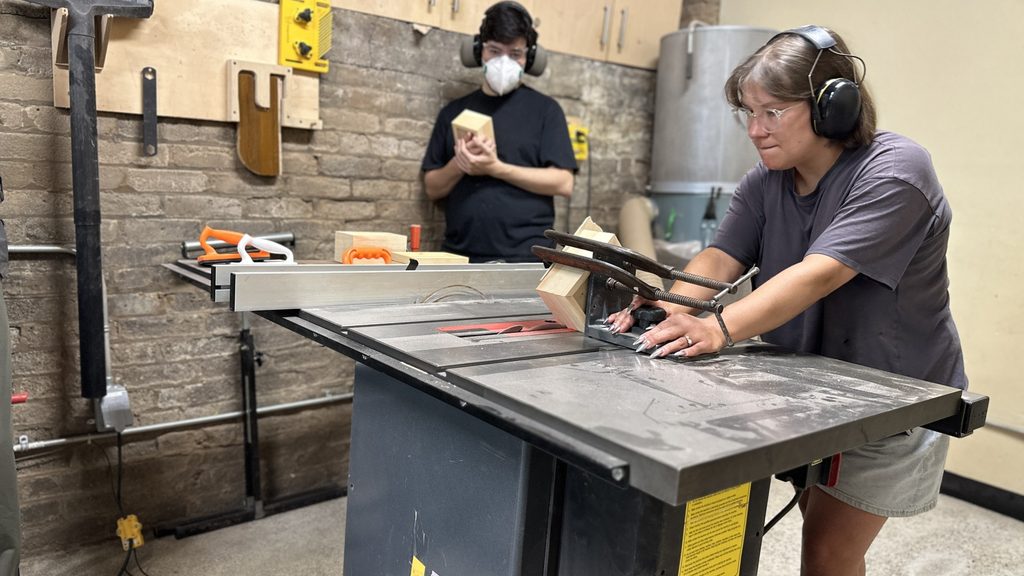
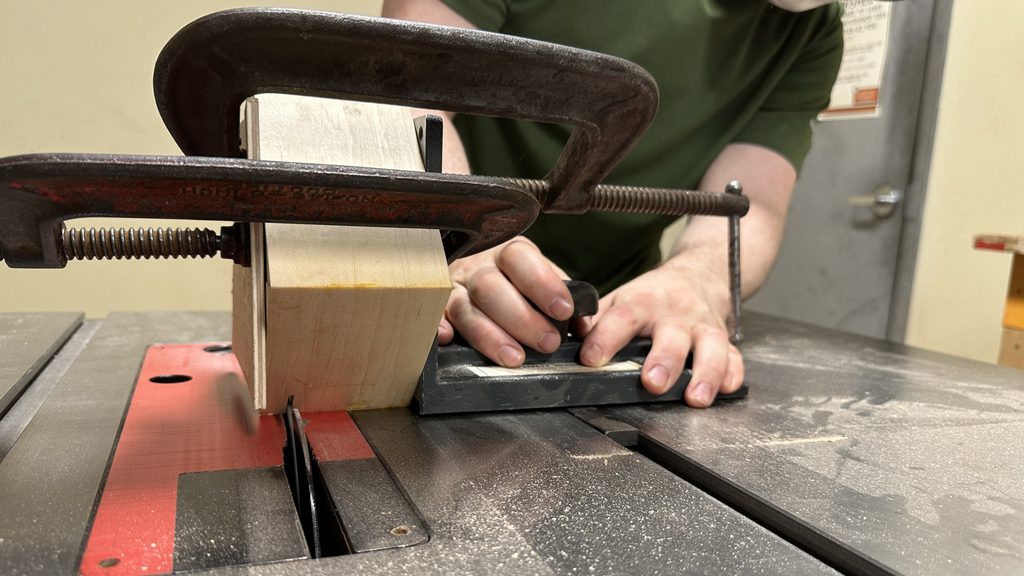
Learning more advanced tablesaw techniques for spline joints, and partial through-cut for preparation of the box lid.
Exercise 1: Milling splines, cutting grooves
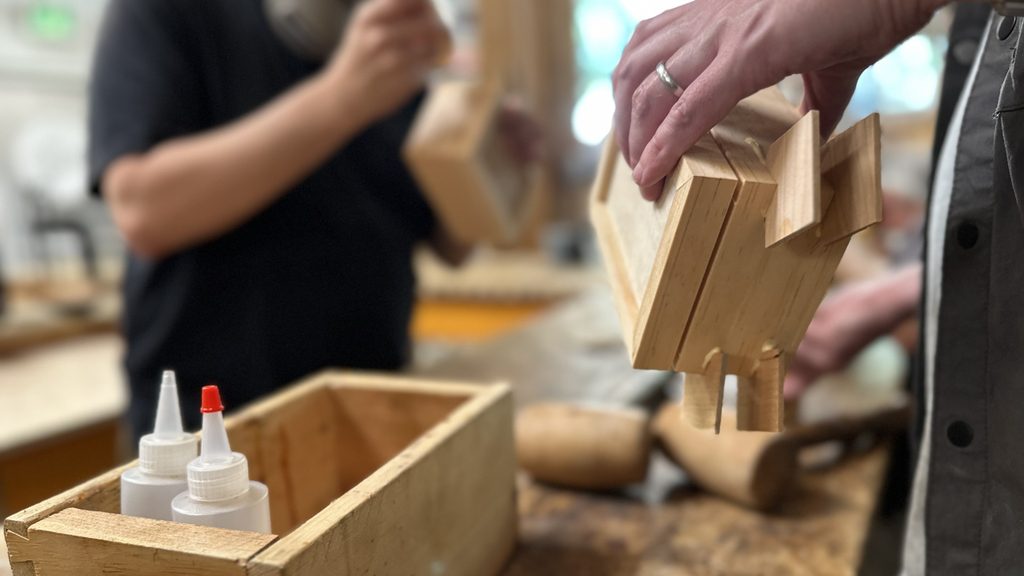
Exercise 2: Insertion of splines
Exercise 3: Material preparation – box liner
Week 3 – Mitre box pt. 3
Learn about:
- Intermediate hand-tool techniques
- Assembly
- Use of hand plane
- Surface techniques
Concepts covered:
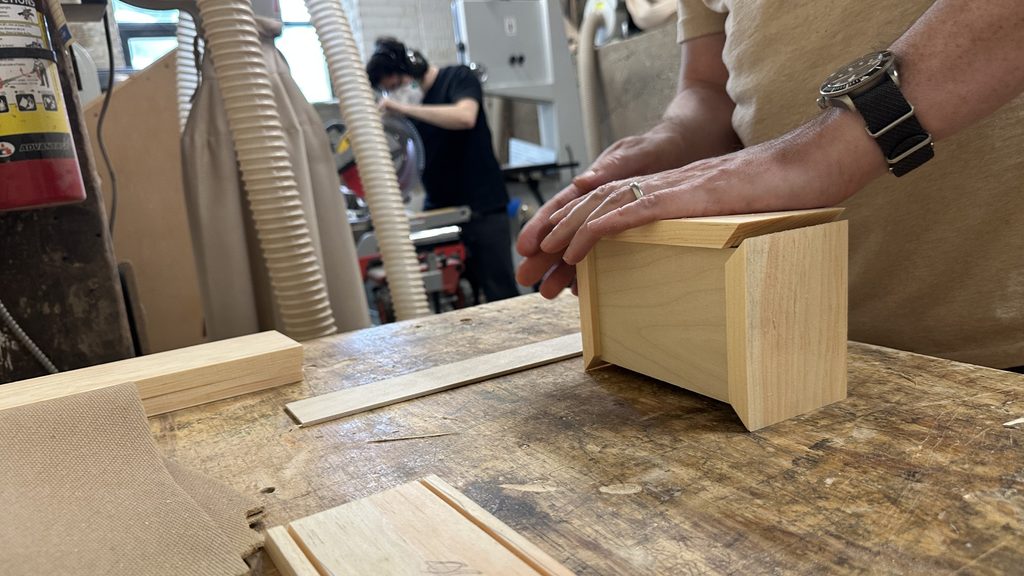
Using materials prepared in week 1 and 2, students progress to a completed box with splined mitre joints, friction-fit liner, and finished surfaces.
Exercise 1: Flush cutting splines and lid
Exercise 2: Friction fit of box liner
Exercise 3: Selection of sanding techniques and application of finish
Exercise 4: Second box preparation for inlay
Week 4 – Lap Box pt. 1
Learn about:
- Planning for a new joinery technique
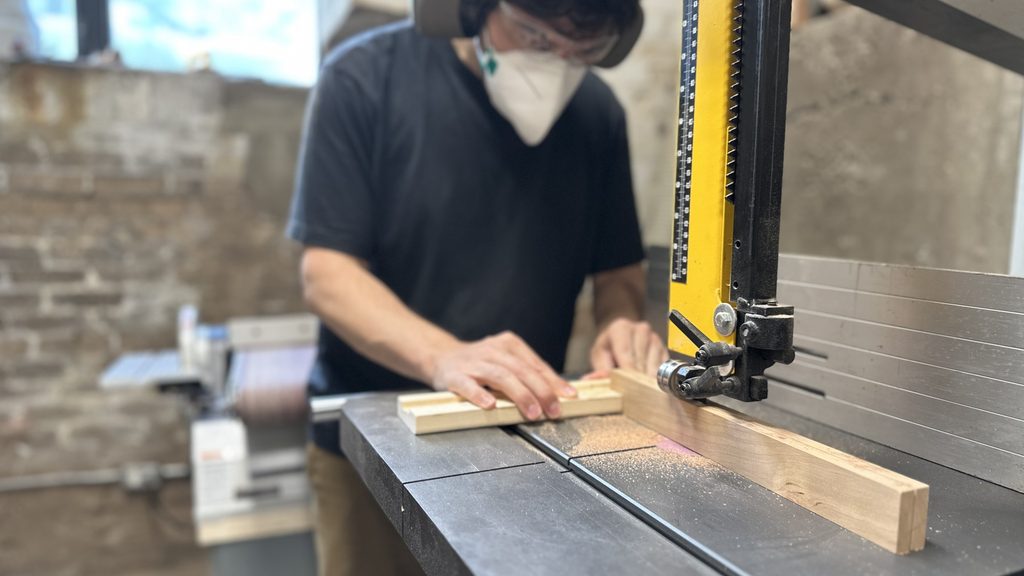
- Measuring and cutting
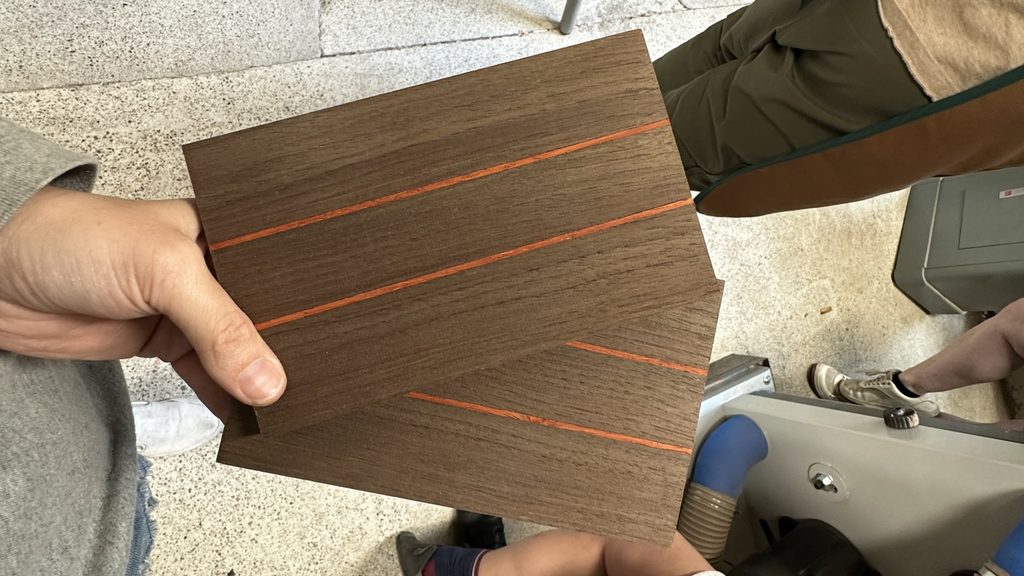
- Inlay preparation
Concepts covered:
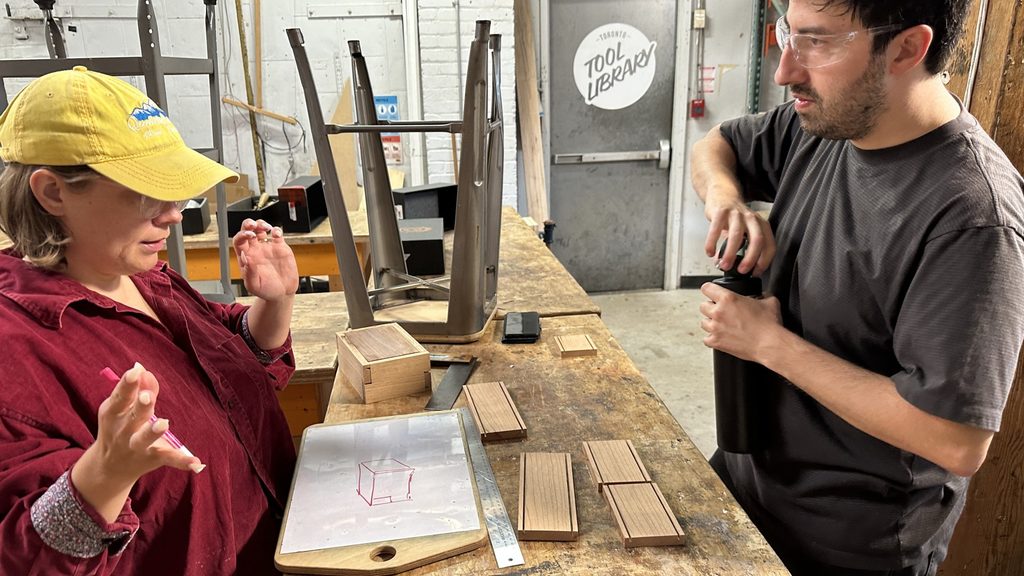
Students apply skills used in the first project to begin the second project, but learn to account for a different style of joinery. This reinforces their acquired skills, while introducing new techiques.
Exerise 1: Milling material, cut to size for lap joints
Exercise 2: Layout of box parts accounting for joinery
Exercise 3: Layout of joinery
Week 5 – Lap Box pt. 2
Learn about:
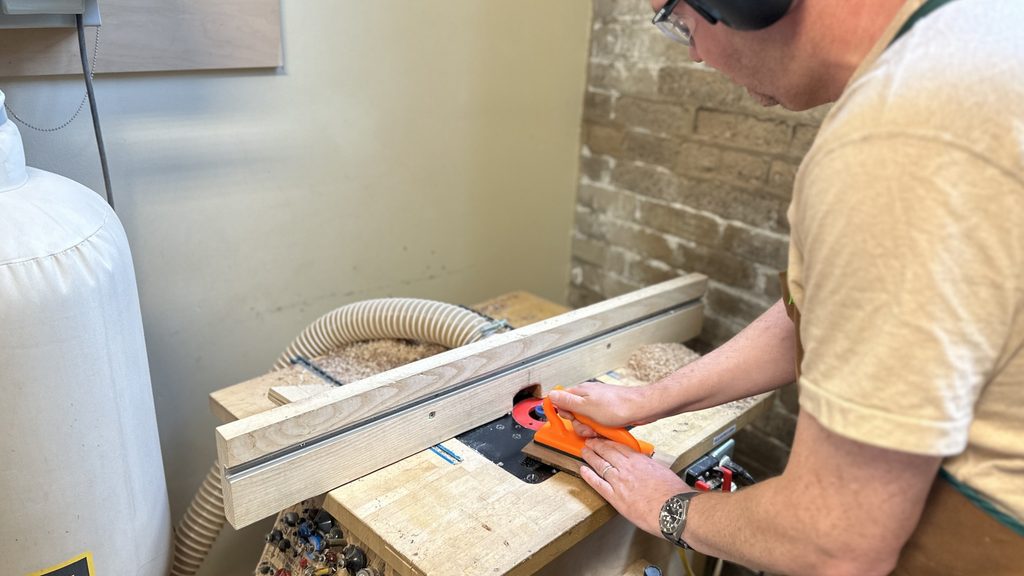
- Intermediate hand tool use
- Reinforcing skills
- Efficient workflow in finishing stages
- Importance of precise fit
Concepts covered:
Students increase confidence and reasoning through reinforcement and repetition. They learn to anticipate steps and adapt work-flow for efficiency.
Exercise 1: Cut lap joints, using hand-tools for accuracy
Exercise 2: Finish sanding of interior surfaces
Exercise 3: Assembly of box
Week 6 – Lap Box pt. 3
Learn about:
- Installation of hardware
- More advanced finishing techniques
- Next steps and continued learning
Concepts covered:
Students learn the importance of precision in hardware installation by applying hinges to their finished lap box.
The course concludes with a discussion about possible next-steps for students interested in continuing their learning journey.
Exercise 1: Flush cutting of lid
Exercise 2: Installation of hinges
Exercise 3: Sanding and finishing